Workspace ONE Peer Distribution uses the native Windows BranchCache feature that is built into the Windows operating system. This feature provides an alternative peer-to-peer technology for customers to use instead of Adaptiva.
Requirements and Ports used for Peer Distribution with Workspace ONE
Configure peer distribution on your Windows 10 devices with the Peer Distribution Windows Desktop Profile. Peer distribution supports Distributed, Hosted, and Local BranchCache modes along with their configuration settings; disk space percentage, and max cache age. You can also view the BranchCache Statistics of an application from the Peer Distribution Details panel under Apps&Books > Native > List View > Application Details. For more information, see Monitor your Individual Application Version.
Before you start with Workspace ONE peer distribution, activate the File Storage Caching so that the applications are cached in the device services server and are accessible by the BranchCache service. Activating the File Storage Caching allows you to configure an external repository in which the files are stored. A deactivated setting means that files are stored as binary large objects in the database.
While configuring Workspace ONE peer distribution, the ports are automatically configured for the Windows Defender Firewall. However, for the third-party firewall, you might have to configure the ports manually.
Ports used for Peer Distribution with Workspace ONE
| Direction | Protocol | Port | Application | Action |
|---|---|---|---|---|
| Inbound | TCP | 80 | SYSTEM | ALLOW |
| Inbound | UDP | 3702 | =%systemroot%\\system32\\svchost.exe | ALLOW |
| Outbound | TCP | Any (Remote 80) | SYSTEM | ALLOW |
| Outbound | UDP | Any (Remote 3702) | =%systemroot%\\system32\\svchost.exe | ALLOW |
Configure a Peer Distribution Profile (Windows Desktop)
Peer distribution with Workspace ONE allows you to deploy your Windows apps to enterprise networks. This profile uses the native Windows BranchCache functionality built into the Windows operating system.
-
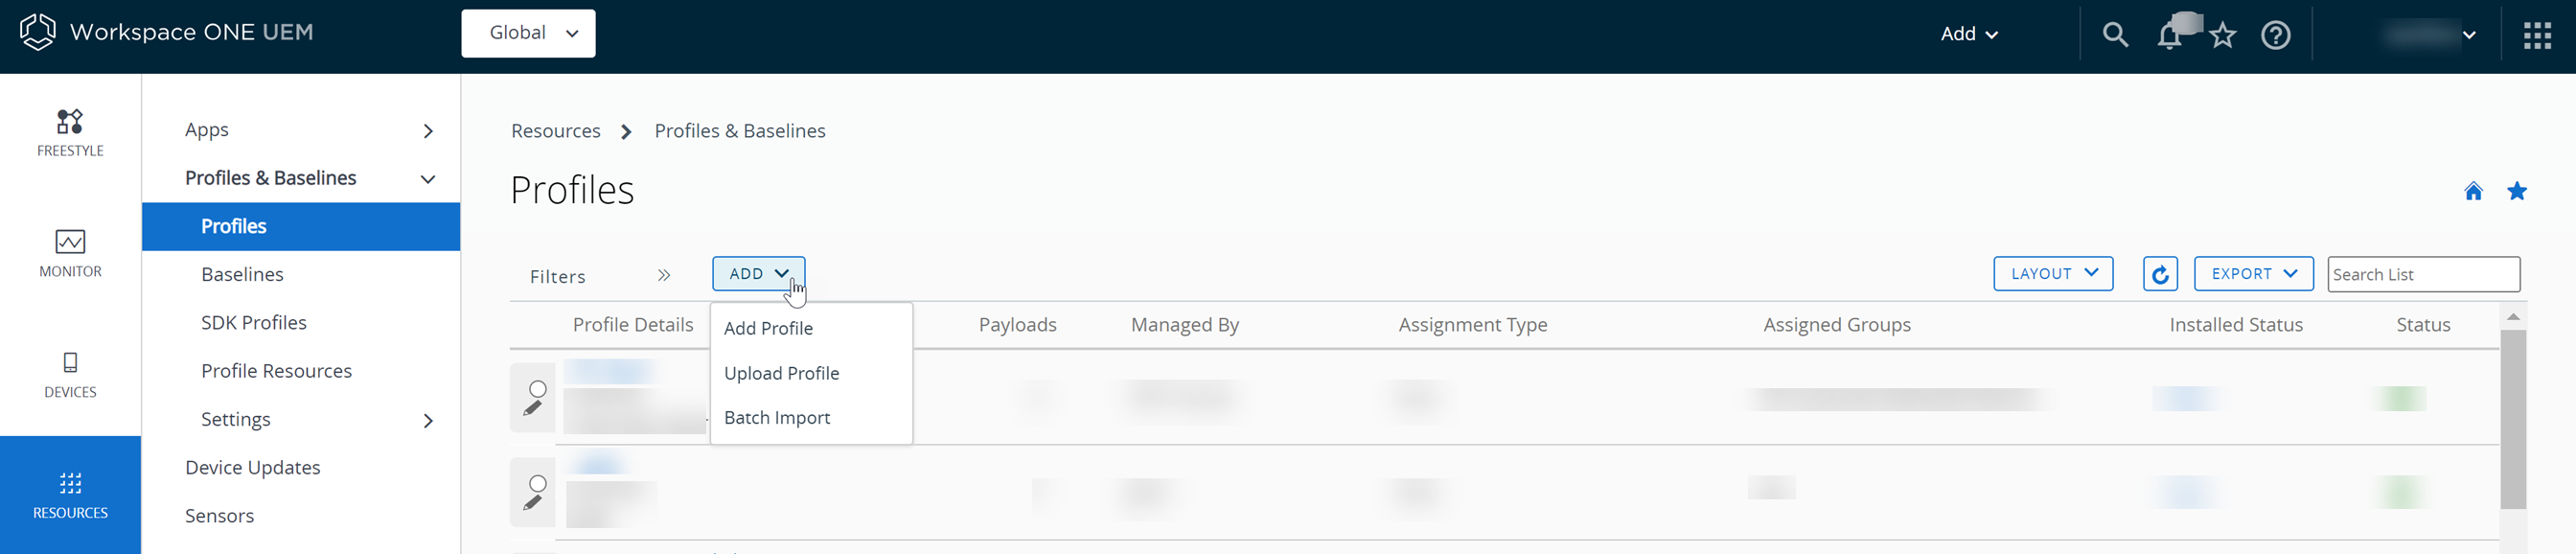
Navigate to Resources > Profiles & Baselines > Profiles > ADD > Add Profile..
-
Select Windows and then select Windows Desktop.
-
Select Device Profile.
-
Configure the profile General settings.
-
Select the Peer Distribution profile and select Configure.You must have File Storage configured before you can create a Peer Distribution profile.
-
Select the Workspace ONE Peer Distribution Mode you want to use.
Setting Description Distributed Select this option so that your devices download apps from peers in a local subnet. Hosted Select this option so that your devices download apps from a hosted cache server. Local Select this option so that your devices download apps from local device caching only. Disabled Select this option to deactivate peer distribution. -
Configure the Cache settings:
Setting Description Maximum Cache Age (days) Enter the maximum number of days that peer distribution items should remain in the cache before the device purges the items. Percentage of Disk Space Used for BranchCache Enter the amount of local disk space the device should allow peer distribution to use. -
If you set the distribution mode to Hosted in the Peer Distribution profile, ensure you populate the cache setting configurations and add at least one hosted cache server. Devices can download and upload content to and from this single-hosted cache server.
For information about configuring hosted cache servers, see Deploy Hosted Cache Servers in the Microsoft documentation.
-
Select Save & Publish.
Was this page helpful?