In the Okta Admin console, add the Workspace ONE application from the Okta catalog, then configure the application.
Procedure
-
Log into the Okta Admin console.
-
Select Applications > Applications.
-
Click Browse App Catalog.
-
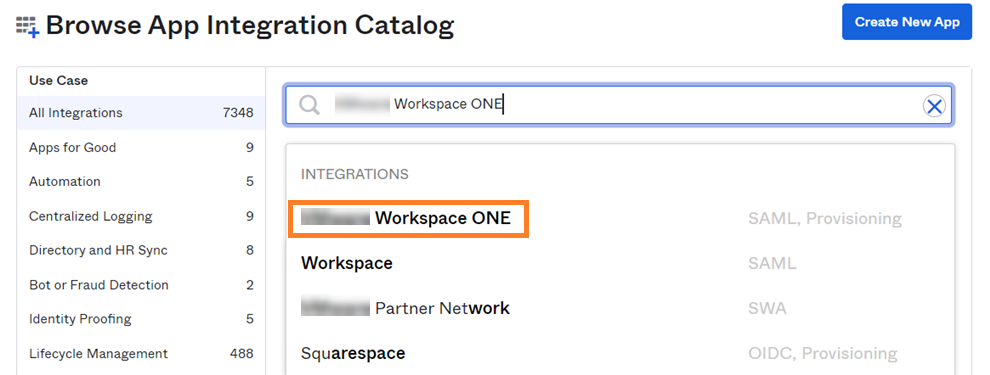
Search for the Workspace ONE application.
-
Select Workspace ONE under Integrations.
-
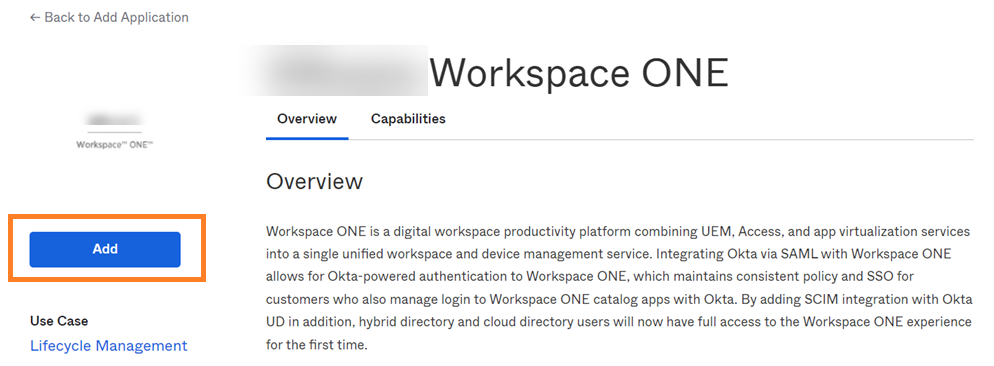
Click Add.
-
In the Base URL text box, enter your Omnissa Access URL.
For example:
https://example.workspaceoneaccess.com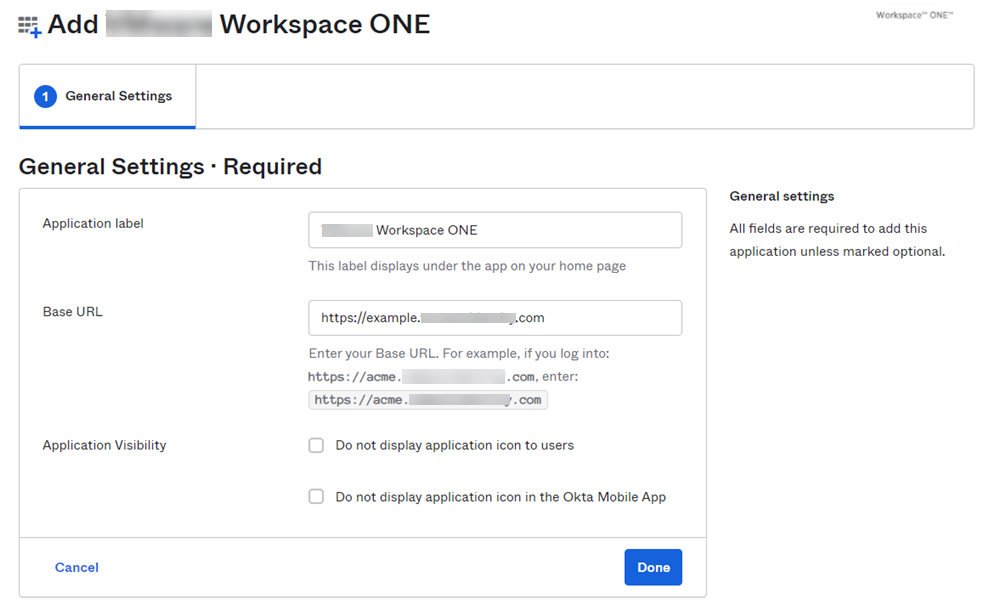
-
Click Done.
-
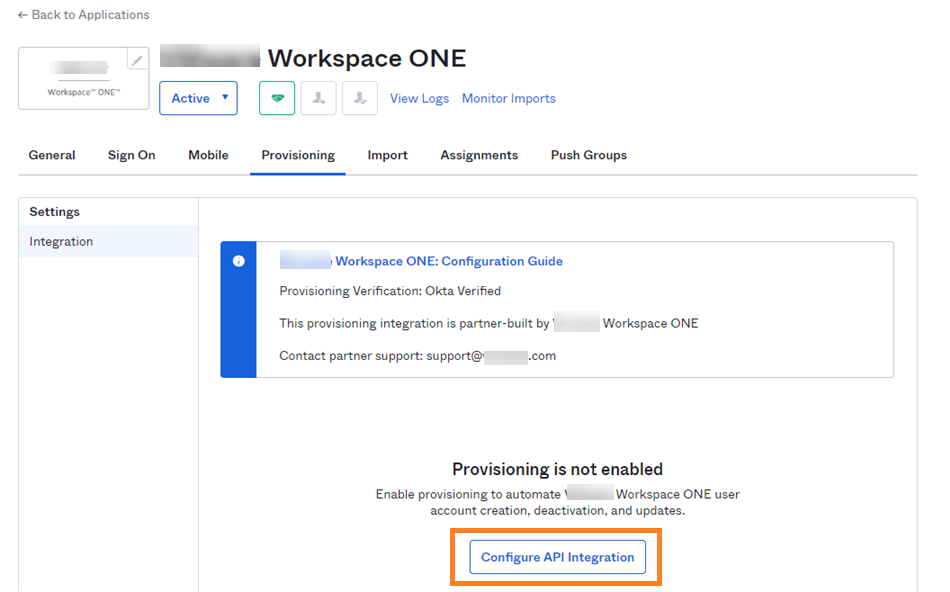
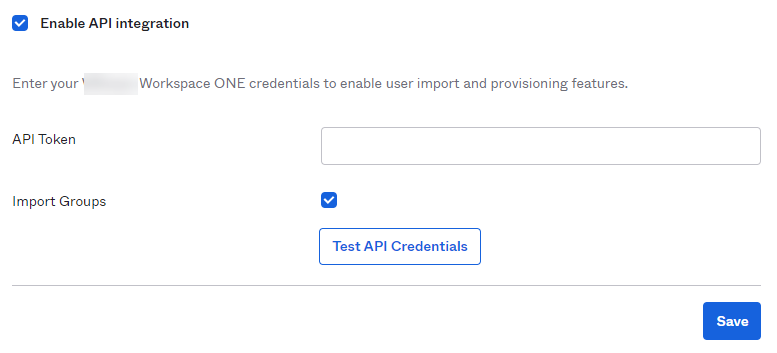
Click the Provisioning tab and click Configure API Integration.
-
Select the Enable API Integration check box.
-
In the API Token text box, paste the bearer token that you created in Generate OAuth Bearer Token with Postman.
Note: Paste only the token. Do not include the word
Bearer. For example: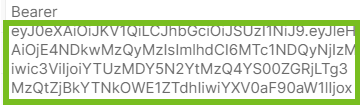
-
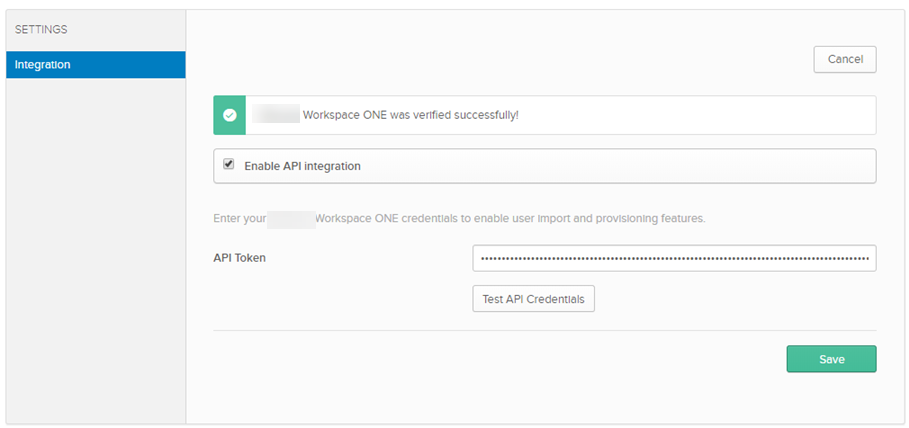
Click Test API Credentials and ensure that you see a successful message before proceeding.
-
Click Save.
-
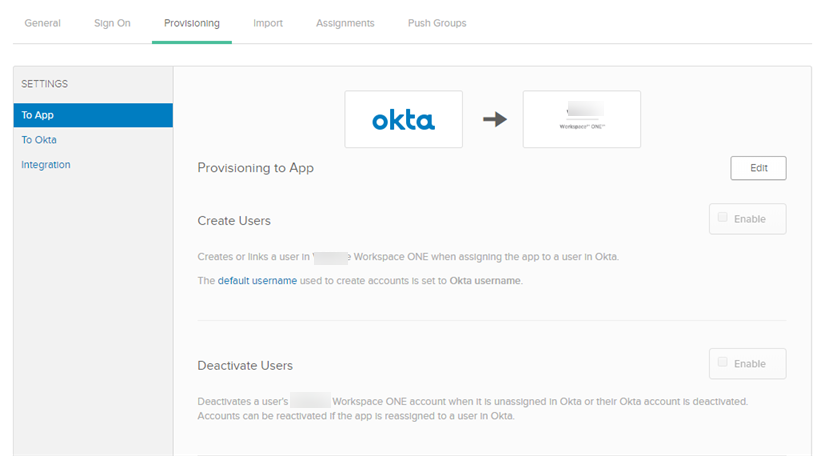
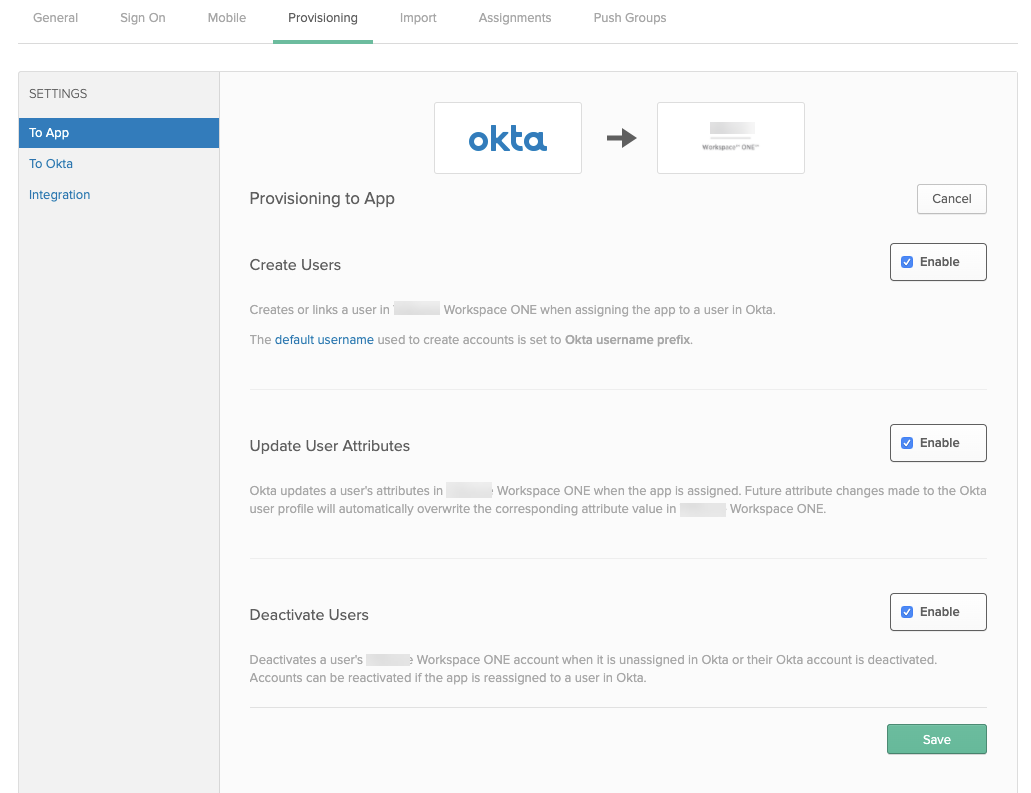
Click the Edit button.
-
Select the Enable check boxes for Create Users, Update User Attributes, and Deactivate Users, then click Save.
-
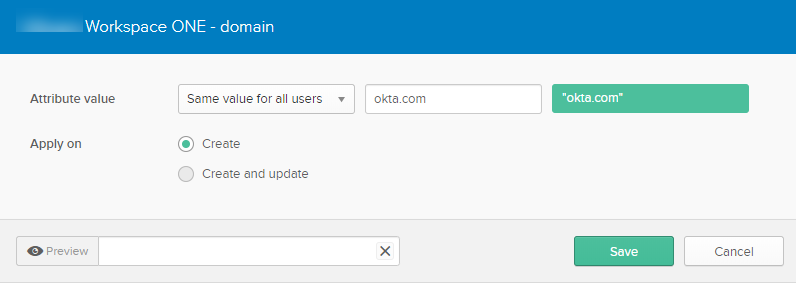
Scroll down and edit the domain attribute.

-
Edit the domain so that it matches the domain you used when you created the directory in Create a Directory of Type Other in Omnissa Access.
-
Click Save.
What to do next
SCIM provisioning set up is complete.
Go to the Assignments tab in the Workspace ONE application and assign the application to users or groups. When you assign the application to a user, the user is created in Omnissa Access. When you remove the application for a user, the user is deactivated in Omnissa Access.
You can go to the Push groups tab in the Workspace ONE application to push groups to Workspace ONE. When you push a group, the group is created in Omnissa Access and the group membership is pushed. Members of the group must already be assigned the Workspace ONE application.
Note: Using the same Okta group for assignments and for group push is not currently supported. To maintain consistent group membership between Okta and Omnissa Access, you must create a separate group that is configured to push groups to Omnissa Access.
Was this page helpful?