After you add an application to the Omnissa Access catalog, you can apply an access policy to it. Access policies control user access based on criteria such as the user’s network range or device type.
Omnissa Access provides a default access policy set, which applies to all applications in your Omnissa Access catalog by default. You can also create and assign custom policies to manage access to specific applications. When a custom policy is assigned to an application, it overrides the default access policy.
Viewing and Editing the Default Access Policy
-
Navigate to the Resources > Policies page.
-
To view the default access policy, click View in the Default Policy section.
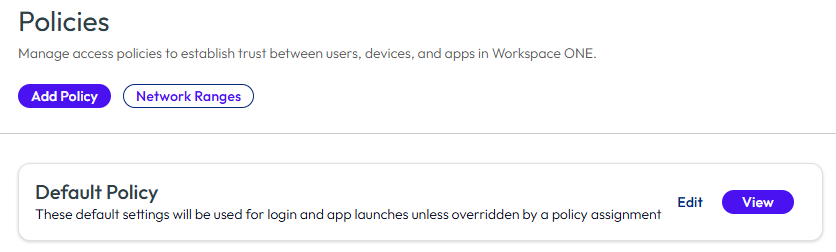
If the default access policy is appropriate for the application, you do not need to take any further action as it applies to the application by default.
-
To edit the default access policy, click Edit.
Caution: When you edit the default access policy, the changes apply to all applications and might affect users' ability to log on to the Intelligent Hub portal or app.
Assigning Custom Policies to Applications
If you do not want to use the default access policy for an application, you can assign a custom access policy to it.
-
Navigate to the Resources > Policies page.
-
(Optional) To create a new custom policy, click Add Policy and create the policy.
-
Under Custom App Policies, click the three-dot icon next to the custom policy you want to use, and select Assign.
-
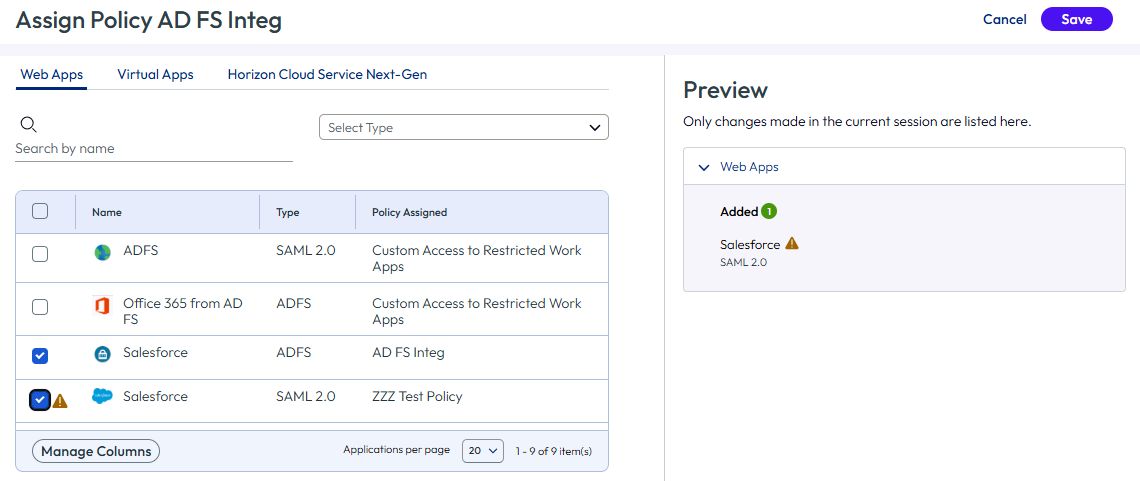
On the Assign Policy policyName page, select the Web Apps tab.
-
Find the application to which you want to assign the policy.
You can search for the application by name. You can also filter the list by application type.
-
Select the check box next to the application to assign the access policy to it.
If another custom policy is already assigned to the application, a warning appears. You can see which policy is currently assigned to the app in the Policy Assigned column.
The Preview pane on the right helps you keep track of the changes you make in the current session. The changes do not take effect until you click Save.
-
If you want to assign any other applications to the custom policy, select them.
-
Click Save.
For detailed information about how to create and configure access policies, see Managing Authentication Methods in Omnissa Access.
Viewing Applications by Access Policy Assignment
To view all the applications that are assigned a custom access policy:
-
Navigate to the Resources > Policies page.
-
In the Custom App Policies section, click the policy you want to view.
Under Definition, you can see the number of applications to which the policy applies.
-
Click the Applications link, then select the Web Apps tab to view the web applications to which the policy applies.
Up to 50 applications appear in the list. If a message appears that states that the policy applies to more than 50 applications, you can go to the Resources > Web Apps page to see the complete list of applications. When you click an application, you can see the access policy that is assigned to it under Configuration - Access Policies.
Was this page helpful?