Integrate your Apple Business warranty information with the Omnissa Workspace ONE Experience Management solution in Omnissa Intelligence to display Apple Business device warranty and service entitlement data so that admins can view warranty coverage alongside the applicable device context.
Why integrate?
Integrate your Apple Business warranty information with Experience Management in Intelligence to benefit from the listed features.
- View Apple Business warranty and service entitlement information for supported Apple Business devices.
- Identify warranty coverage start and end dates.
- Review service obligation details such as warranty type, service level, and entitlement duration.
- Analyze warranty data alongside device metadata such as device name, serial number, user, and Workspace ONE context.
- Build dashboards, reports, and workflows using Apple Business warranty data.
Sync intervals
The integrated systems perform an initial sync inline as part of the setup process. After that, syncing occurs automatically through a scheduled weekly sync.
Requirements
You must use the listed solutions to use this integration.
- Use the Experience Management solution.
- Manage your devices with Omnissa Workspace ONE UEM.
- Apple Business devices must be properly inventoried in Workspace ONE UEM, including by serial number.
- Have access to the Apple Business Warranty API (Apple Support/Services entitlement APIs).
- Have the Apple Business role of Organization Administrator to create an API account in Apple Business.
Gather Apple Business Warranty API information
You need access to the Apple Business Warranty API so that you can enter a client ID in Intelligence for successful integration. Then, you take the information from Apple and build a secret key to enter in to Intelligence, too.
Omnissa Intelligence uses the Client ID and the Secret Key to retrieve warranty data.
Apple Business documentation
See the Apple Business documentation for current information about their procedures.
- For details, access Apple Business User Guide.
- Also, see Create an API account in Apple Business.
Apple Business Account
Set up an Apple Business API Account on the Apple Business site.
- Only users with the role of Organization Administrator can create an API account.
- Devices should be associated with the same Apple Business account, where possible.
Create an API Key in Apple Business
To connect Apple Business Warranty to your environment, you’ll need a Client ID, Key ID, and the PEM (Privacy-Enhanced Mail) private key downloaded from Apple Business. It is best to save all this information you obtain from Apple Business for use later.
Important:
- When you get your PEM key file from Apple Business, save it somewhere where you can access it. You can never re-download it. If you lose this file, you have to revoke the current integration and create a new one with a new PEM key file. You use this file to build the Secret Key that you enter in Intelligence.
- Even after you build the secret key, store this file safely so you can access it again.
- After the cache expires on the JWT (
client_assertion) in 180 days, you need the PEM key file again to create another secret key to enter into Intelligence.
Here is a general overview of what you do in Apple Business. See the Apple Business topic Create an API account in Apple Business for the latest information.
- Ensure you have the Organization Administrator role.
- In Apple Business, get to the Settings > API area.
- Name the API account and create it.
- Select Generate API/Private Key.
- Download the PEM key file (
private-key.pem).- Remember to save this file somewhere where you can access it because you need it to build the Secret Key.
- In your new API account, go back to Settings > API.
- Edit the API account to access and copy the Key ID and the Client ID.
- The Client ID displays as
BUSINESSAPI.<uuid>.
- The Client ID displays as
- Copy the Python script below, replace the placeholders with your Apple Business
CLIENT_ID,KEY_ID, andprivate-key.pemfile contents, save it as a PY file, and run it with Python 3 to build a JWT signed with ES256, with audiencehttps://account.apple.com/auth/oauth2/v2/token.- You can cache this JWT (
client_assertion) and reuse it for up to 180 days.
- You can cache this JWT (
- Copy the resulting
client_assertionstring. - Paste the
client_assertionstring into the Secret Key field in Omnissa Intelligence, along with the Client ID from Apple. See the authorization procedure done in Intelligence that is on this page.
# Generate a client_assertion JWT (Apple's reference snippet, ES256)
import datetime as dt, uuid
from authlib.jose import jwt
from Crypto.PublicKey import ECC
CLIENT_ID = "BUSINESSAPI.<account-uuid>"   # from ABM > Preferences > API > Manage
KEY_ID    = "<key-uuid>"                   # from same screen
PEM_PATH  = "private-key.pem"              # downloaded once when the API account was created
AUDIENCE  = "https://account.apple.com/auth/oauth2/v2/token"
now  = int(dt.datetime.utcnow().timestamp())
hdr  = { "alg": "ES256", "kid": KEY_ID }
body = { "sub": CLIENT_ID, "aud": AUDIENCE,
         "iat": now, "exp": now + 86400 * 180,   # max 180 days
         "jti": str(uuid.uuid4()), "iss": CLIENT_ID }
with open(PEM_PATH) as f:
    pkey = ECC.import_key(f.read()).export_key(format="PEM")
client_assertion = jwt.encode(hdr, body, pkey).decode()
Authorize integration in Intelligence
Use the Data Sources > Apple Business tile in Omnissa Intelligence to configure the integration and authorize access to Apple Business warranty data.
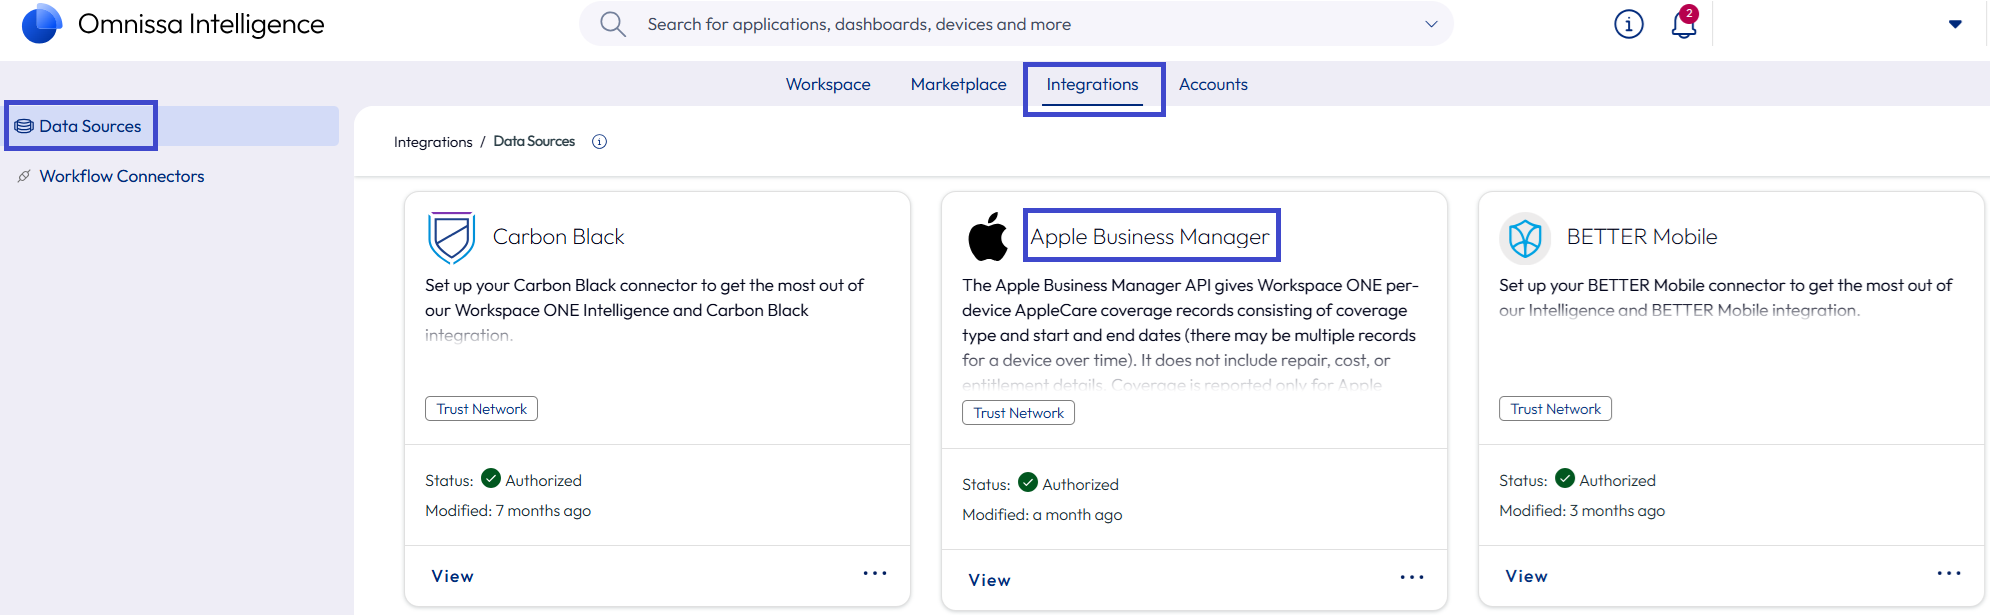
- In Intelligence, go to Integrations > Data Sources and find the Apple Business tile.
- Select Set Up on the Apple Business tile.
- Go to the Credentials tab and enter the Client ID and Secret Key.
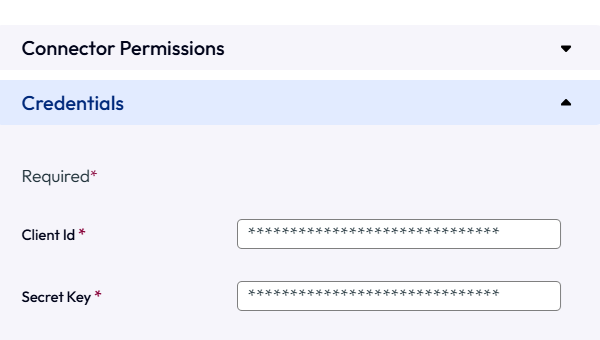
- Select Authorize.
Cache expires in 180 days
Intelligence POSTs your client_assertion to Apple's token endpoint to obtain an access_token, reuses that token, with a one hour validity, across API calls, and re-mints it as needed.
After your client_assertion meets its 180-day expiry, you repeat running the Python script, copying the client assertion string, and pasting the string into Intelligence along with your client ID from Apple.
Validate integration
Validate the Apple Business integration using a custom widget, Data Explorer, and the logs.
Custom widget
Make a custom widget in a new custom dashboard or add the widget to an existing dashboard. Follow the procedure to create a new dashboard with a custom widget.
You can also use the Data Explorer to validate the integration using the same data source.
- In Intelligence, go to Workspace > Dashboards and select Add > Custom Dashboard.
- Enter a name for the dashboard and save it.
- In your custom dashboard, select to Add Widget.
- Enter a name for the widget and then select the data source Apple > Apple Warranty.
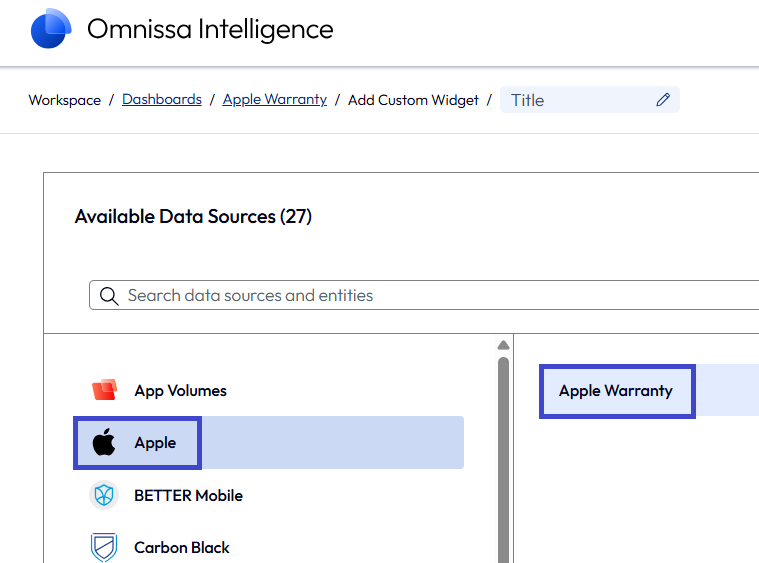
- You don’t need to configure other widget settings. The widget only requires the data source.
- Look for the listed data sets to populate in the preview pane.
- The warranty start and end dates
- Service or entitlement-level records
- Device context fields (such as device name, serial number, username)
Check logs
You can also look at the logs to see that no authorization or API errors appear in the integration status or logs. Access the logs by selecting the Apple Business tile in Integrations > Data Sources, select View, and choose a log option, to download or copy. 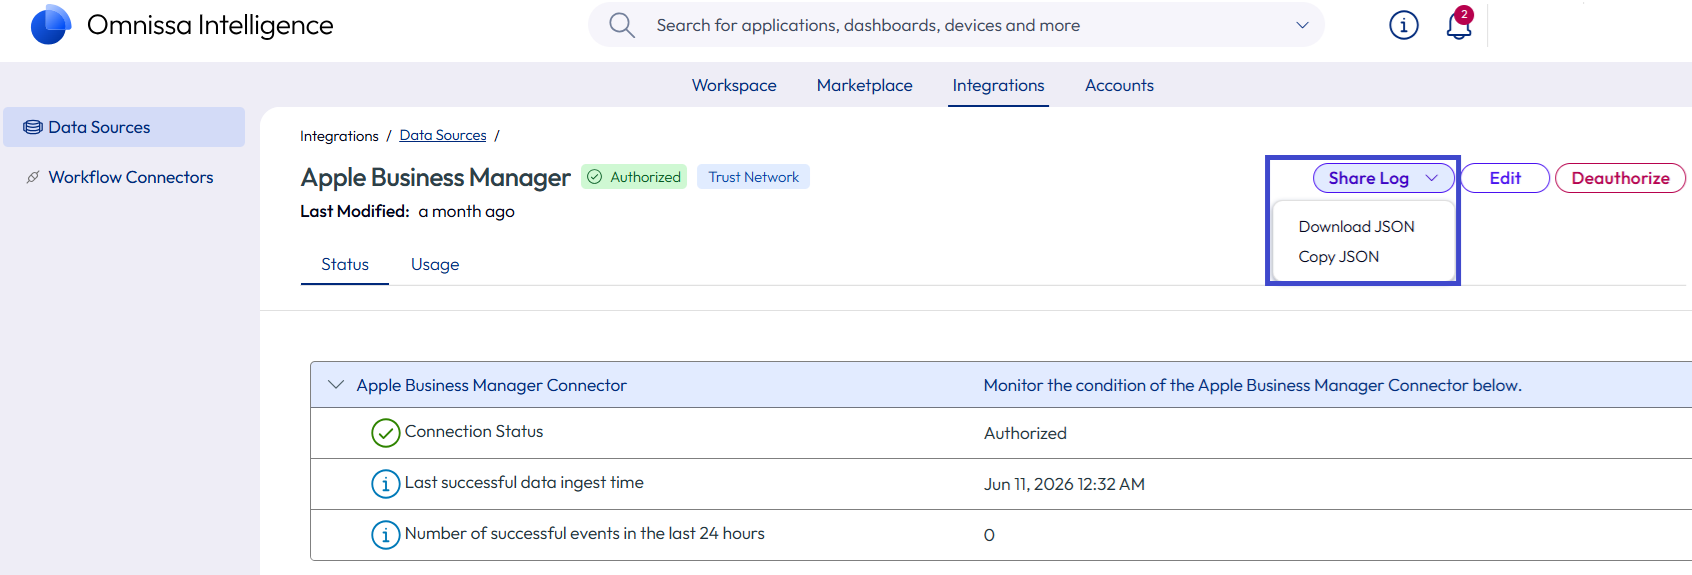
Manage the Apple Business integration
Use the Data Sources > Apple Business tile to manage the integration in Intelligence.
- In Intelligence, go to Integrations > Data Sources and find the Apple Business tile.
- Select View, Edit, or Deauthorize on the Apple Business tile.
- View: From the Apple Business details page, you can see information about Status and Usage for the integration. You can also access log files from this details page.
- Edit: Use this menu option if you need to update the Client ID.
- Deauthorize: Use this menu option when you no longer want to use this integration and you do not want your warranty information displayed in Intelligence.
Data definitions
Find definitions for the data points used in this feature in the Warranty Management topic.
Was this page helpful?